
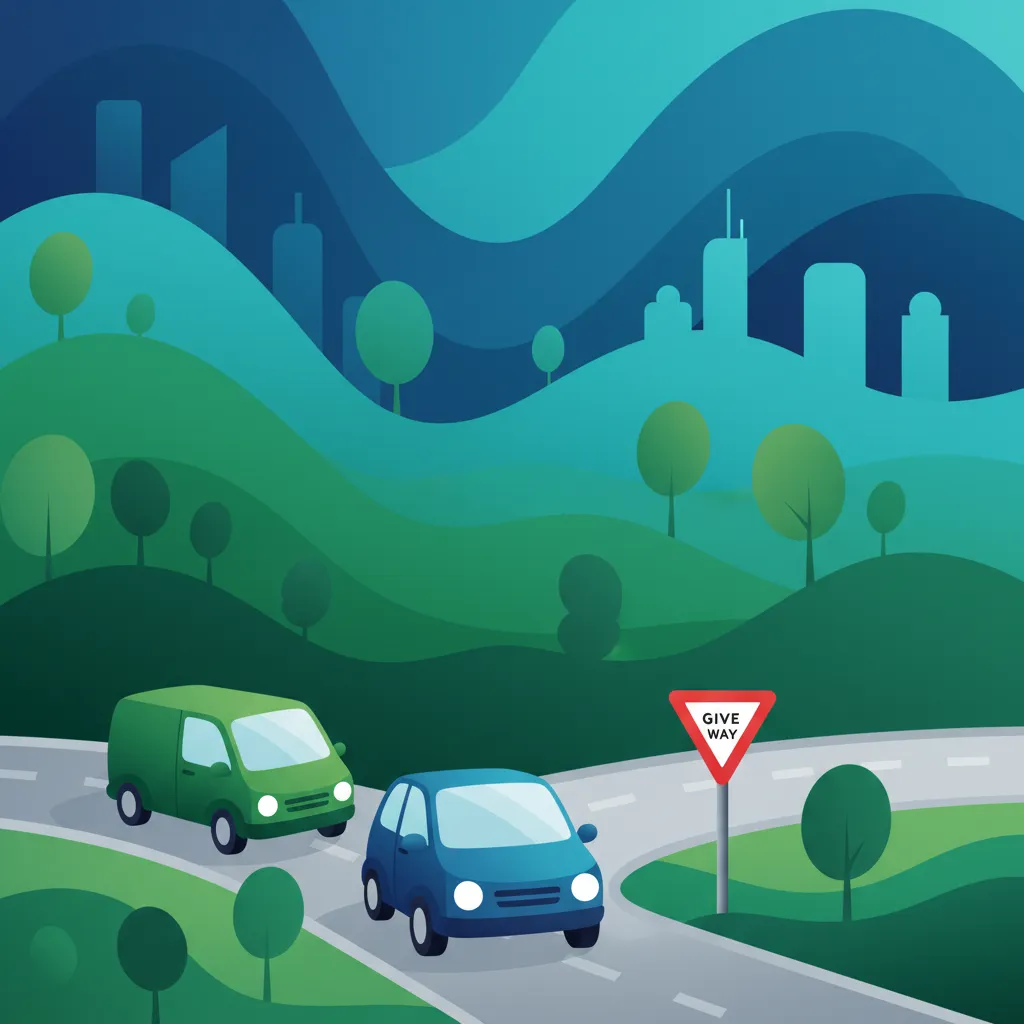
The 'Give Way' sign, known as B6 in the Netherlands, instructs drivers to yield priority to other traffic. Unlike a stop sign, it does not always require a full stop, but it demands careful observation and readiness to stop if necessary. This page explains when and how to give way, ensuring you understand this critical rule for both the theory exam and safe practical driving.
Theory topic content overview
Read the full theory topic guide for Give Way Sign Rules with structured, easy-to-scan content built for learners in the Netherlands. This detailed section explains the exact rule, meaning, traffic context, comparison points, and exam logic behind this Dutch driving theory topic so you can study faster, understand the concept more clearly, and avoid common interpretation mistakes on the theory test.
The Give Way sign, officially designated as B6 in the Netherlands, is a crucial traffic sign that instructs drivers to yield priority to all traffic on the intersecting road. Recognisable by its red-bordered inverted triangle shape, the B6 sign demands that you slow down, observe the traffic situation, and only proceed when doing so will not force other vehicles to slow down or change their course.
This sign is fundamental for managing priority at junctions and is a frequent focus on the CBR theory exam. Understanding its precise meaning and practical application is vital for safe navigation of Dutch roads.
At its heart, the Dutch Give Way sign (B6, or Omgekeerde Driehoek in Dutch) means you do not have automatic right of way. You are entering or crossing a road where other traffic has priority. Your responsibility is to ensure that your manoeuvre does not impede or endanger those with priority.
The principle is simple: traffic with priority must be able to continue their journey unimpeded. If your actions would cause them to brake, swerve, or otherwise react to your presence, you have not given way correctly.
Approaching a Give Way (B6) sign requires a systematic approach:
This is one of the most critical differentiations for the Dutch driving theory exam and safe driving:
Think of it as: B6 = "Stop if you must"; B7 = "You must stop."
In the Netherlands, the Give Way sign (B6) is almost universally reinforced by 'haaietanden' (shark teeth) road markings. These are triangular white markings painted on the road surface, pointing towards the approaching driver.
Learners and even experienced drivers sometimes make mistakes regarding the Give Way sign in the Netherlands:
The Give Way sign (B6) and its accompanying 'haaietanden' are fundamental to priority rules in the Netherlands. Always remember the mantra: Observe, Assess, and Act Safely. Your goal is to enter or cross an intersection without creating any obstruction or danger to vehicles that have priority. Be prepared to stop, but only stop if the situation demands it to ensure safe yielding. Master this distinction for both your CBR theory exam and your daily driving safety.
The Give Way sign (B6) instructs drivers to yield priority to all traffic on the intersecting road, slowing down, observing, and only proceeding when it is safe to do so without impeding others. The key distinction from the Stop sign (B7) is that a complete stop is not always mandatory at B6, but only if necessary to give way, whereas B7 always requires a full stop. In the Netherlands, the B6 sign is almost universally reinforced by 'haaietanden' (shark teeth) road markings that indicate the expected stopping point and remain binding even if the sign itself is obscured. A systematic approach of anticipating, slowing significantly, observing all directions, assessing gaps, and acting safely or stopping when necessary ensures correct yielding and safe intersection navigation.
A short set of high-value points that capture the most important ideas from this theory explanation.
The Give Way sign (B6) means you must yield priority to all traffic on the intersecting road without automatic right of way
A complete stop at B6 is only mandatory when necessary to give way - you may proceed without stopping if the path is clear and safe
The 'haaietanden' (shark teeth) markings are equally binding as the B6 sign itself and indicate exactly where you should stop if needed
When yielding at B6, you are primarily yielding to drivers on the intersecting road - cyclists and pedestrians typically do not have automatic priority over your vehicle
Correct yielding means your actions must not cause traffic with priority to brake, swerve, or otherwise react to your presence
B6 means 'stop if necessary'; B7 means 'you must stop' - this distinction is crucial for the CBR exam
The 'haaietanden' markings (shark teeth) painted on the road surface are a primary visual cue that reinforces the give way obligation even if the sign is obscured
You must slow significantly, observe all directions, and assess gaps in traffic before proceeding at a B6 sign
If visibility is blocked, you must slow to a crawl or stop and edge forward cautiously, ready to stop instantly
The red-bordered inverted triangle shape (Omgekeerde Driehoek) identifies the B6 Give Way sign specifically
Not slowing down enough when approaching a B6 sign, making it impossible to properly assess traffic or stop safely
Confusing B6 with B7 by not understanding that a full stop is only mandatory at B7, not always at B6
Ignoring the 'haaietanden' shark teeth markings, which are equally binding and indicate the stopping location
Creeping or slowly entering the intersection without truly having a clear path, hoping other drivers will yield
Underestimating the speed of approaching vehicles or overestimating the distance available for merging
Start with a short, direct summary of Give Way Sign Rules before reading the full explanation below.
The Give Way sign (B6) means you must yield to all traffic on the intersecting road. You must slow down, assess if it's safe to proceed without forcing other vehicles to slow or change course, and only then enter the intersection. A complete stop is only required if necessary to give way, unlike a 'Stop' sign (B7) where stopping is always mandatory.
Review the most important terms, rule signals, and traffic concepts linked to Give Way Sign Rules.
Explore related theory topic pages connected to Give Way Sign Rules and continue with the next useful rule explanation.
See the common search queries learners use when trying to understand Give Way Sign Rules in the Netherlands.

Ready to deepen your understanding? Browse our comprehensive library of Dutch driving theory topics, rules, and concepts. Each section offers detailed explanations to help you solidify your knowledge and prepare thoroughly for your upcoming CBR driving theory examination.
Explore Driving Theory TopicsTheory topic content overview
A short set of high-value points that capture the most important ideas from this theory explanation.
The Give Way sign (B6) means you must yield priority to all traffic on the intersecting road without automatic right of way
A complete stop at B6 is only mandatory when necessary to give way - you may proceed without stopping if the path is clear and safe
The 'haaietanden' (shark teeth) markings are equally binding as the B6 sign itself and indicate exactly where you should stop if needed
When yielding at B6, you are primarily yielding to drivers on the intersecting road - cyclists and pedestrians typically do not have automatic priority over your vehicle
Correct yielding means your actions must not cause traffic with priority to brake, swerve, or otherwise react to your presence
B6 means 'stop if necessary'; B7 means 'you must stop' - this distinction is crucial for the CBR exam
The 'haaietanden' markings (shark teeth) painted on the road surface are a primary visual cue that reinforces the give way obligation even if the sign is obscured
You must slow significantly, observe all directions, and assess gaps in traffic before proceeding at a B6 sign
If visibility is blocked, you must slow to a crawl or stop and edge forward cautiously, ready to stop instantly
The red-bordered inverted triangle shape (Omgekeerde Driehoek) identifies the B6 Give Way sign specifically
Not slowing down enough when approaching a B6 sign, making it impossible to properly assess traffic or stop safely
Confusing B6 with B7 by not understanding that a full stop is only mandatory at B7, not always at B6
Ignoring the 'haaietanden' shark teeth markings, which are equally binding and indicate the stopping location
Creeping or slowly entering the intersection without truly having a clear path, hoping other drivers will yield
Underestimating the speed of approaching vehicles or overestimating the distance available for merging
Start with a short, direct summary of Give Way Sign Rules before reading the full explanation below.
The Give Way sign (B6) means you must yield to all traffic on the intersecting road. You must slow down, assess if it's safe to proceed without forcing other vehicles to slow or change course, and only then enter the intersection. A complete stop is only required if necessary to give way, unlike a 'Stop' sign (B7) where stopping is always mandatory.
Review the most important terms, rule signals, and traffic concepts linked to Give Way Sign Rules.
Explore related theory topic pages connected to Give Way Sign Rules and continue with the next useful rule explanation.
See the common search queries learners use when trying to understand Give Way Sign Rules in the Netherlands.
Ready to deepen your understanding? Browse our comprehensive library of Dutch driving theory topics, rules, and concepts. Each section offers detailed explanations to help you solidify your knowledge and prepare thoroughly for your upcoming CBR driving theory examination.
Explore Driving Theory TopicsUse this exam-focused revision tip to understand how Give Way Sign Rules is likely to appear in theory questions for learners in the Netherlands. This section helps you identify the most testable part of the rule, avoid common traps, and remember the concept more effectively during Dutch driving theory exam preparation.
Pay close attention to scenarios involving the Give Way sign (B6) versus the Stop sign (B7) on your CBR theory exam. Remember, 'yield when necessary' for B6, but 'always stop' for B7. Also, check for 'shark teeth' markings, as they always reinforce the give way rule.
Read direct answers to the most common learner questions about Give Way Sign Rules in the Netherlands. This FAQ focuses on rule confusion, practical meaning, comparison with similar concepts, and the exact uncertainties that appear most often in Dutch driving theory revision and exam preparation.
The Give Way sign (B6) is a white inverted triangle with a red border. It is often accompanied by 'shark teeth' road markings on the road surface.
No, you do not always have to come to a complete stop. You must slow down and be prepared to stop. If the intersecting road is completely clear and safe to enter without impeding other traffic, you may proceed without stopping.
The main difference is that at a Stop sign (B7), you must always come to a complete stop before the stop line, even if the road is clear. At a Give Way sign (B6), you only stop if it is necessary to yield to other traffic.
You must give way to all traffic on the intersecting road or to traffic approaching from a direction that has priority. This includes cars, motorcycles, cyclists, and mopeds. Pedestrians usually have their own rules or specific crossings.
'Shark teeth' are white triangular markings painted on the road surface, pointing towards the approaching driver. They reinforce the message of a Give Way sign, indicating where you should yield or be prepared to stop.
Failing to give way correctly is a serious traffic offense in the Netherlands, as it can cause dangerous situations and accidents. It can result in fines and points on your driving record, and is a common reason for failing the CBR driving exam.
Leverage the targeted practice search to find questions that challenge your understanding of specific Dutch traffic rules or road signs. Focus your study efforts on areas where you need improvement and build a solid foundation for passing your CBR driving theory exam with confidence.